Design Courses & Issue Certificates in Moodle
- Create a new course
-
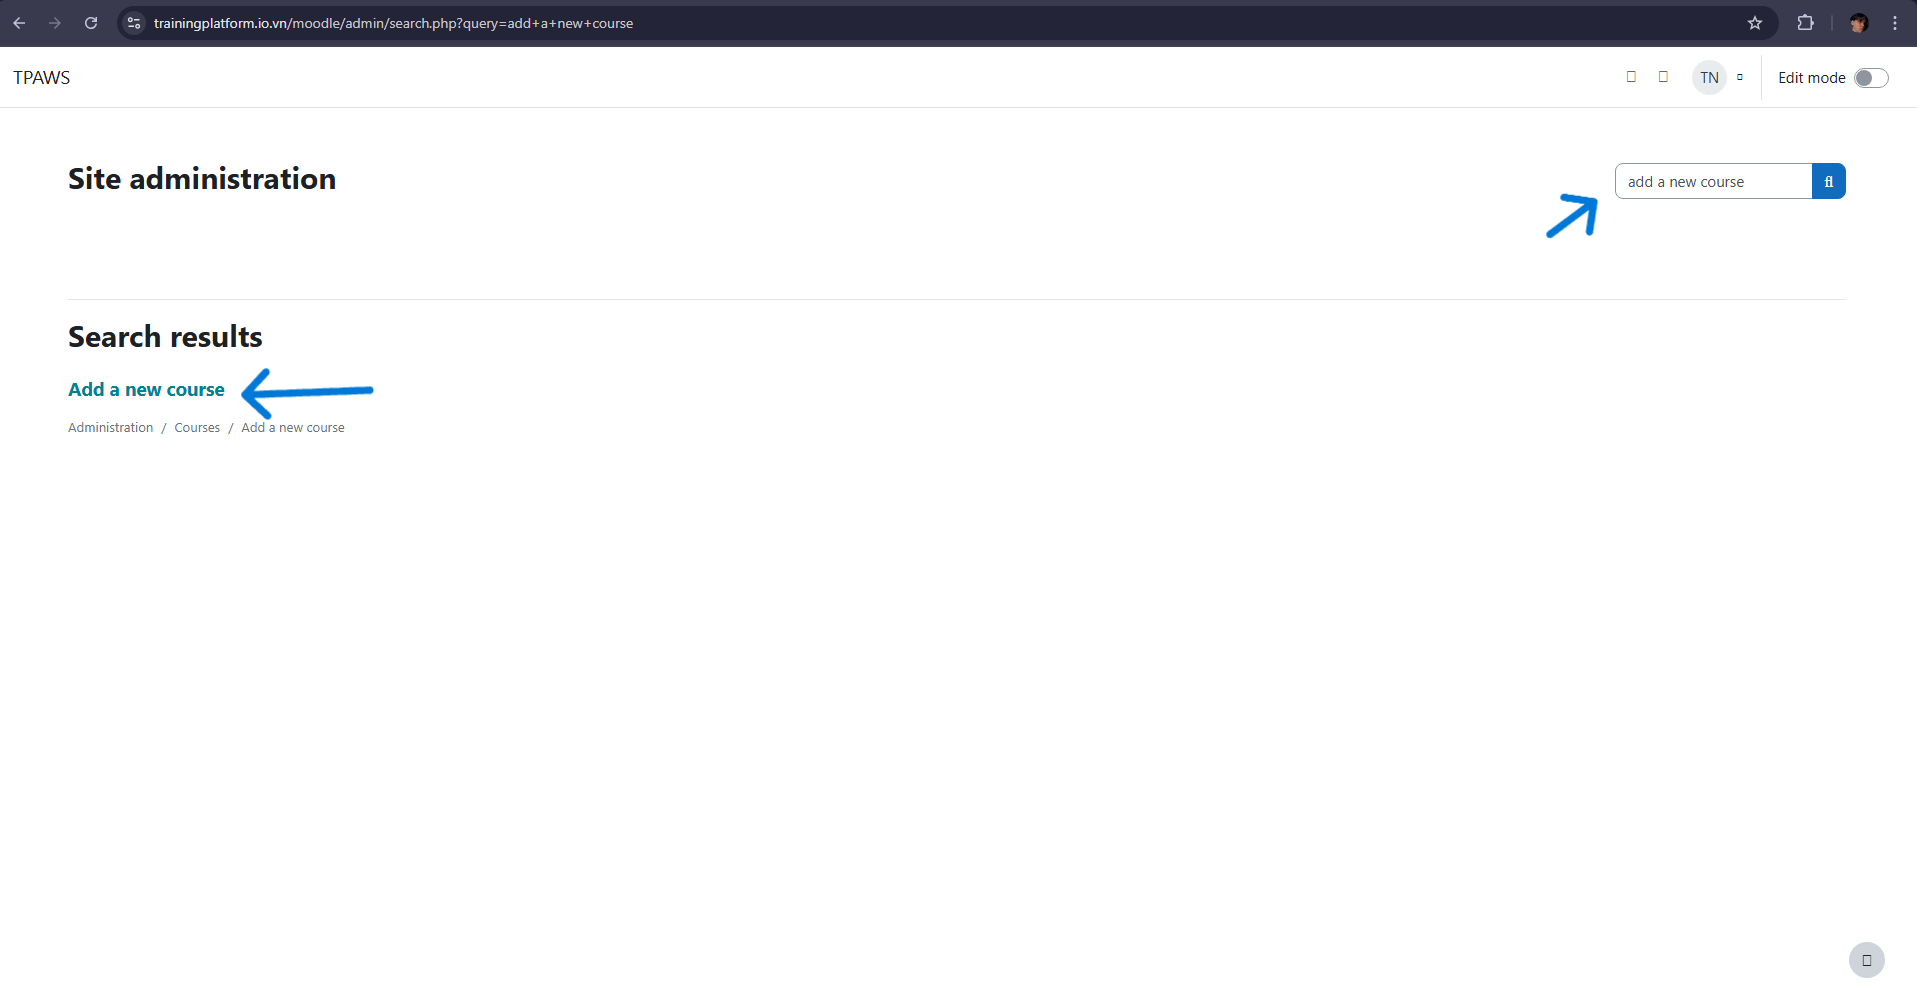
Log in to Moodle with an admin account.
-
On the main page → click Site administration → find Add a new course
-
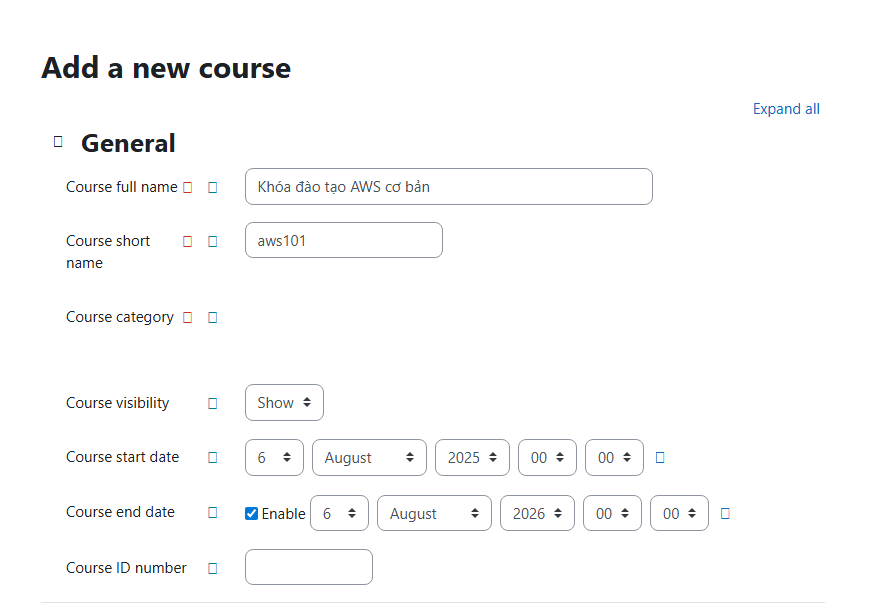
Enter information such as course name, short name, and set course visibility to Show.
-
Click Save and display
-
Add lesson content
-
In the course → Select Question Bank

-
Select Create a new question

-
You must select a question type to create a new question, e.g.: Multiple choice,… -> click Add

-
Fill in the required information or select the options for the question, then click Save Changes to save the question.
-
Do the same with the Content Bank section to add theory to the course
- Install the certificate plugin
- Go to https://moodle.org/plugins, search for the Custom Certificate plugin -> download
- In the terminal, run the command scp -i ~/Downloads/mykey.pem path/to/mod_customcert_moodle41_*.zip ubuntu@yourip:/tmp/ to upload the mod file from your computer to the Ubuntu server
- Access Moodle via browser
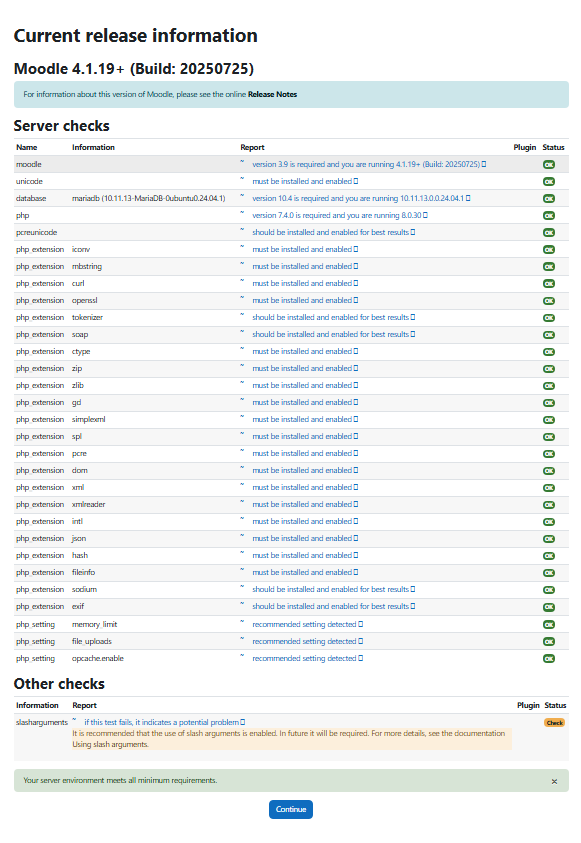
- You will see a Current release information table, scroll down and select continue
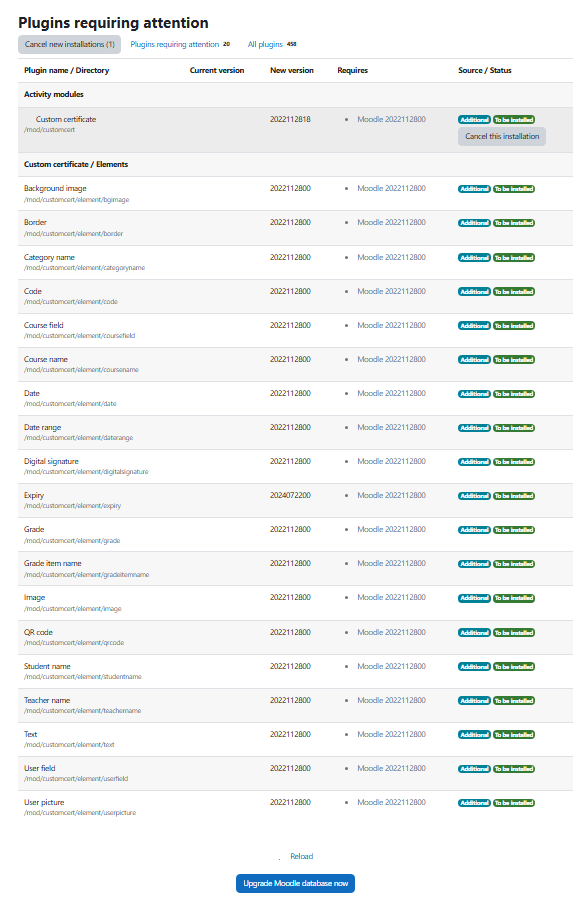
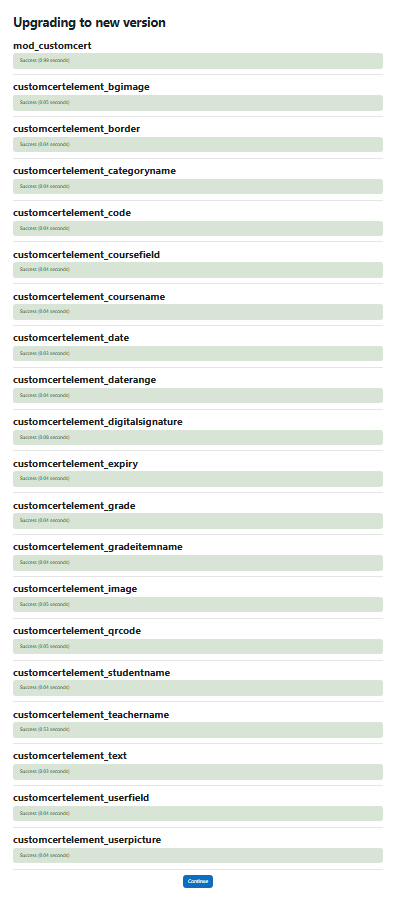
- Then the plugin installation page appears, the customcertificate plugin has been added to the system → click “Upgrade Moodle database now” to complete.

- If you do not want to change anything, leave the default settings and click save changes The Custom Certificate plugin has been successfully installed on your Moodle!
- Use the Custom Certificate plugin
- Go to any course
- Main page → Select a course → Turn editing on
- Add an activity or resource
- You will see an item “Custom certificate” in the list of activities
- Click to add it
So you have completed the training system deployment!