Install Moodle and Basic Configuration
In this step, we will download and extract the Moodle source code into the web directory, create the database and DB user for Moodle, configure folder permissions, and run the Moodle installation wizard in the browser.
- Run sudo apt install git unzip -y to install git, unzip, and necessary utilities.
- Follow the steps below to download Moodle from GitHub.

-
Enter the command:

-
Install Moodle from git using the command.

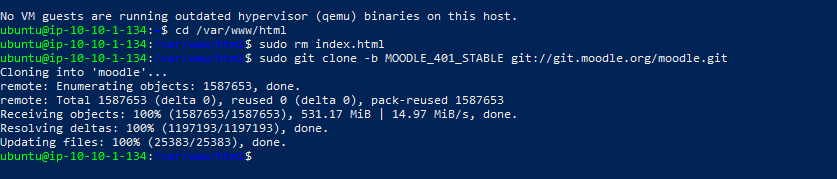
- Moodle has been installed.
- Create the moodledata directory.

- Grant permissions to the web directory

- Create a Database for Moodle.
- Log in to MariaDB

- Create database & user with the commands below:
- CREATE DATABASE moodledb DEFAULT CHARACTER SET utf8mb4 COLLATE utf8mb4_unicode_ci; CREATE USER ‘moodleuser’@’localhost’ IDENTIFIED BY ‘StrongPassword123!’; GRANT ALL PRIVILEGES ON moodledb.* TO ‘moodleuser’@’localhost’; FLUSH PRIVILEGES; EXIT;
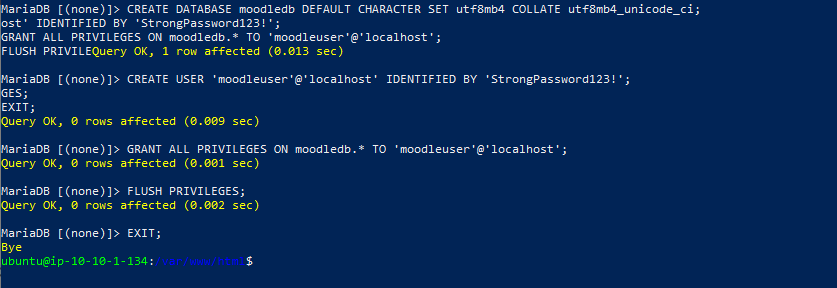
- Database created successfully.
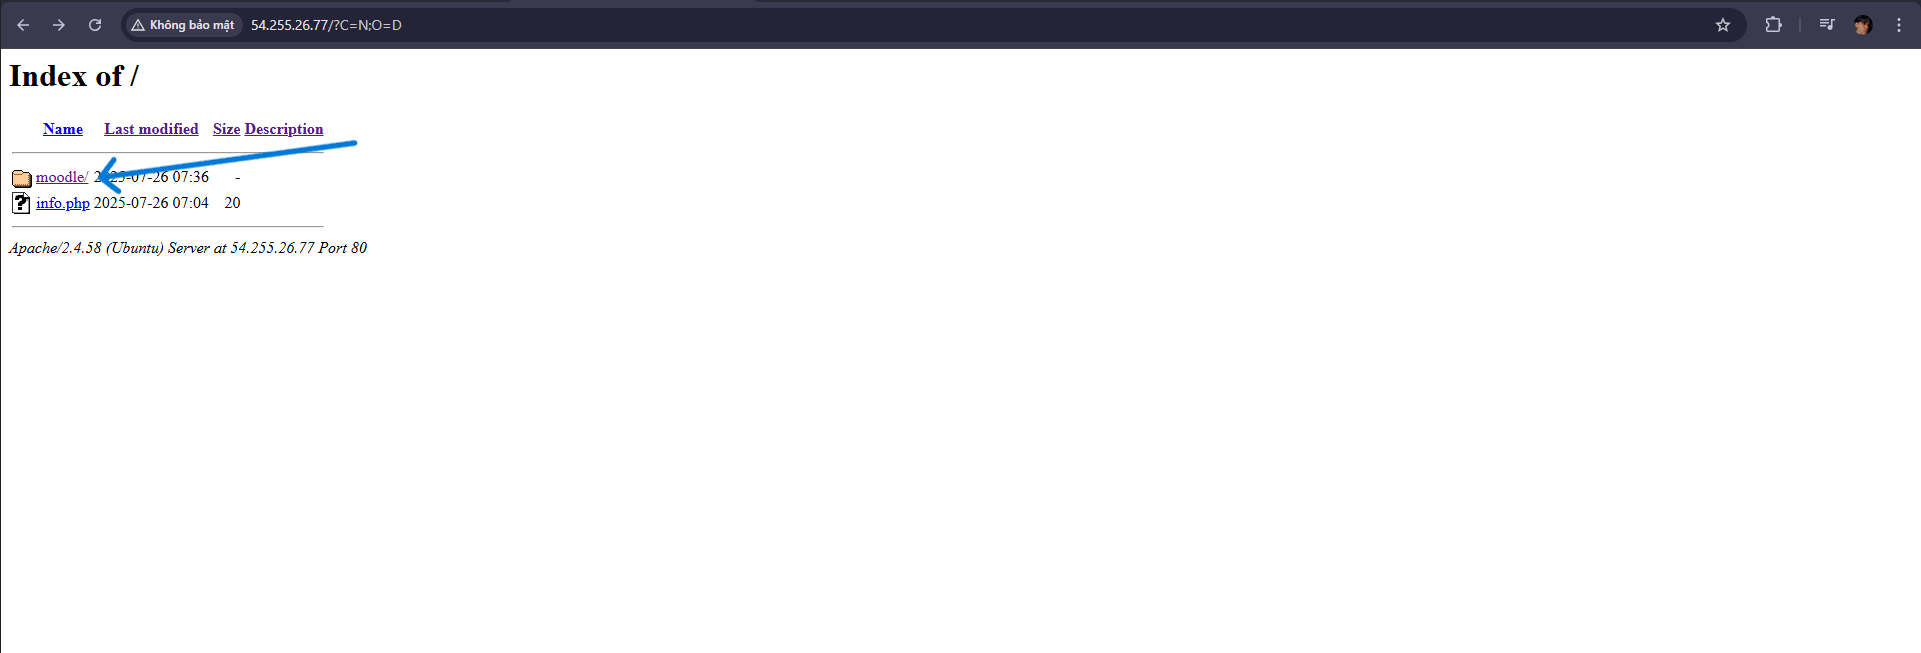
- Access the browser to install Moodle (e.g.: http://54.255.26.77).
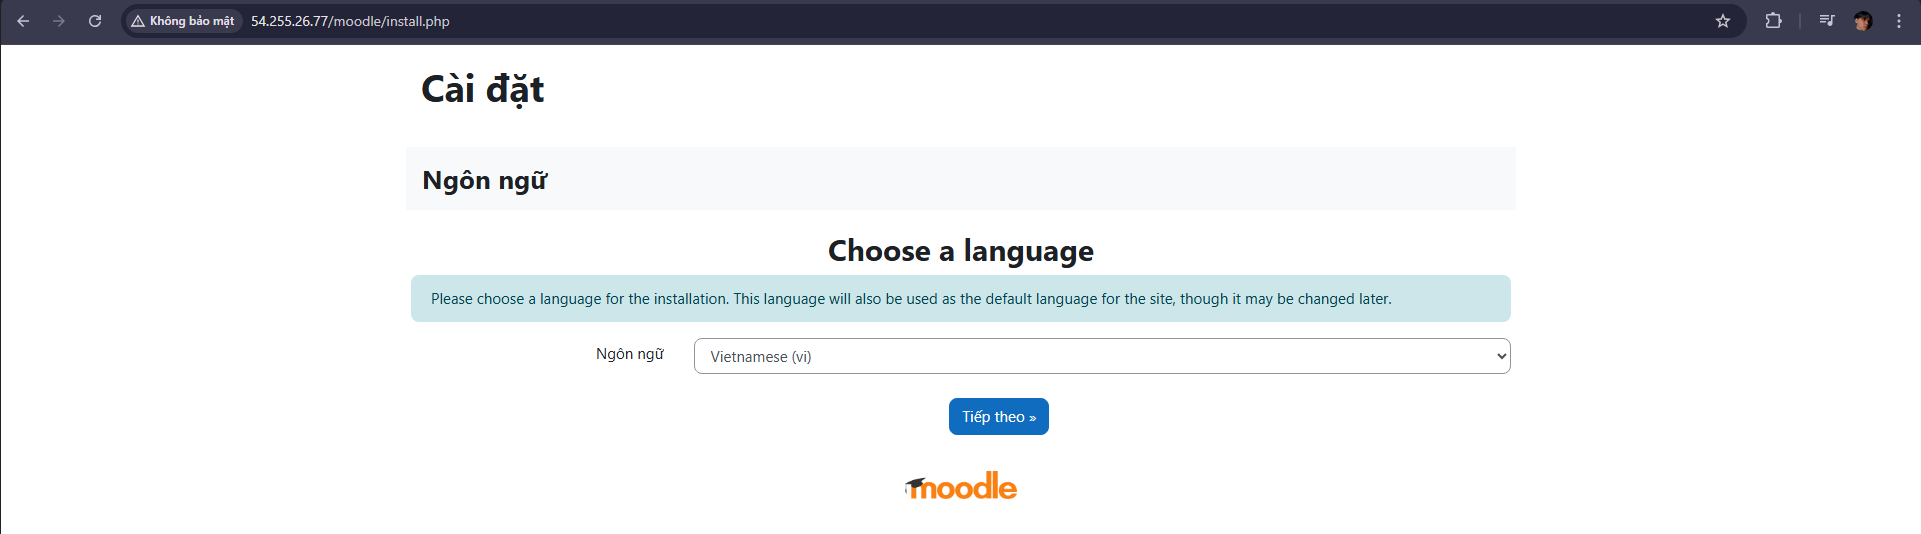
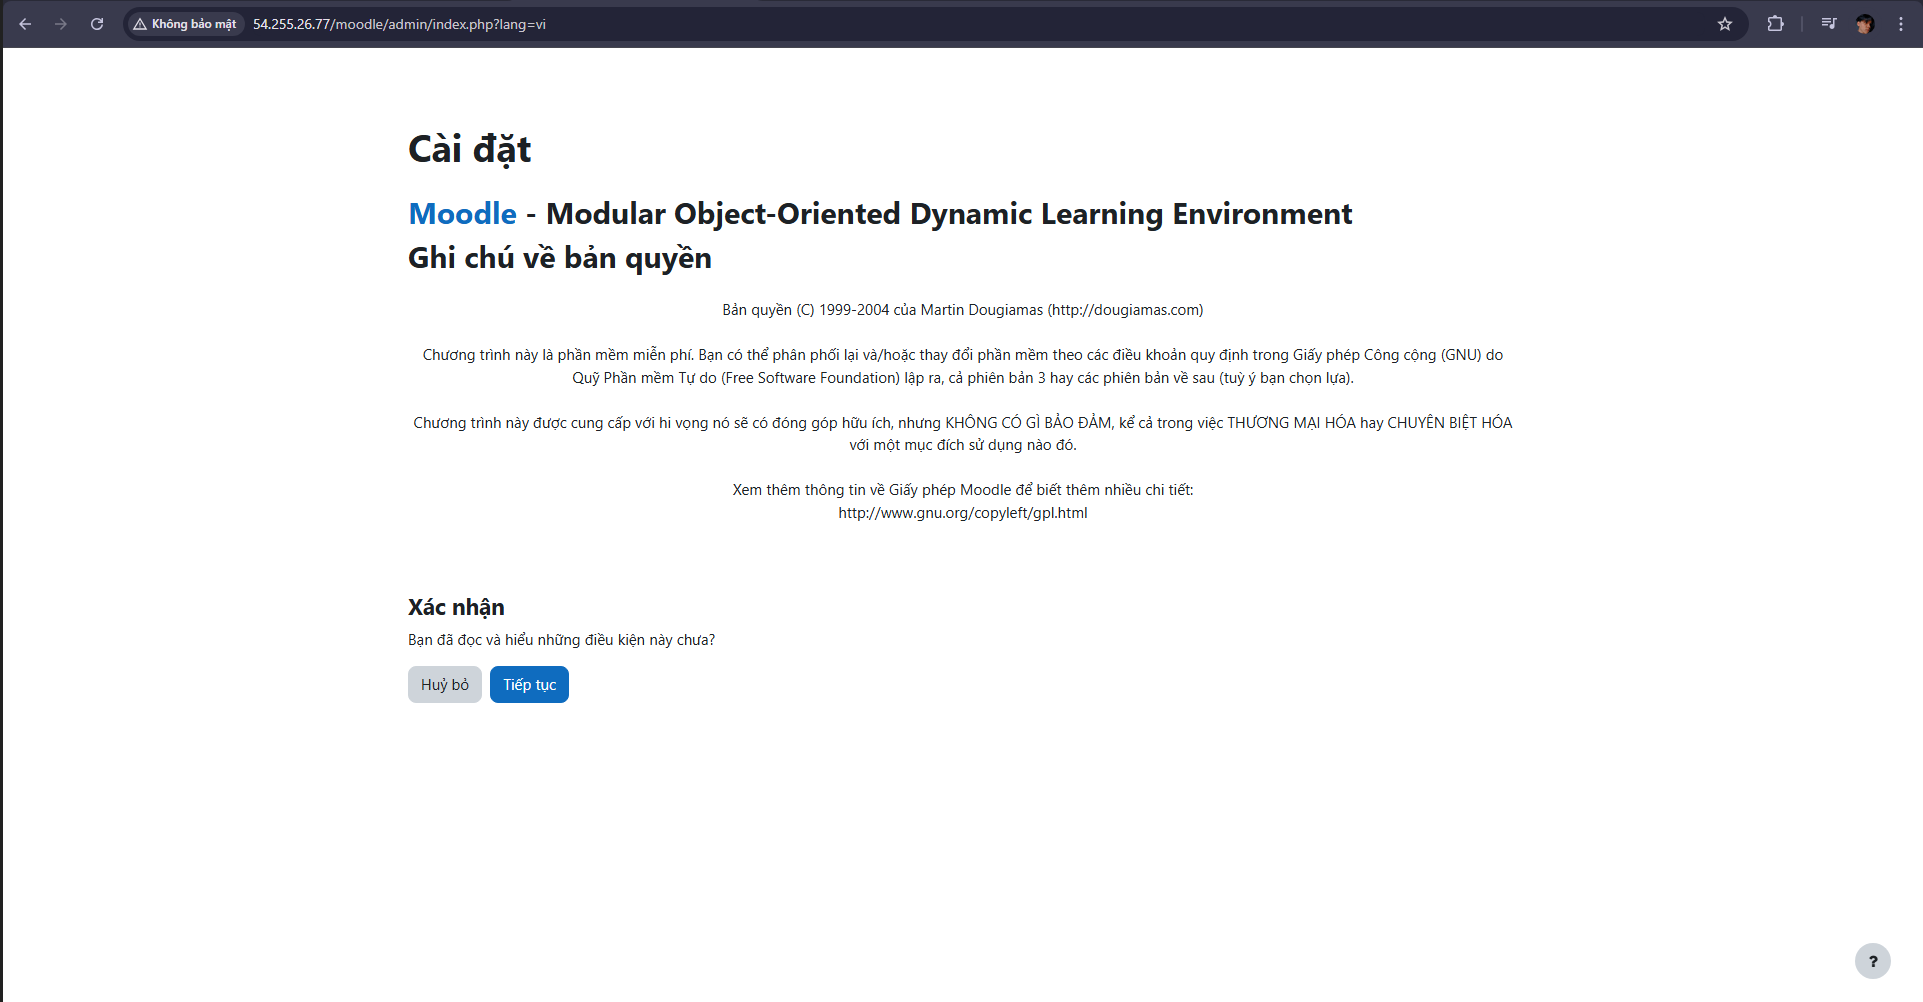
- You will see the Moodle installation interface
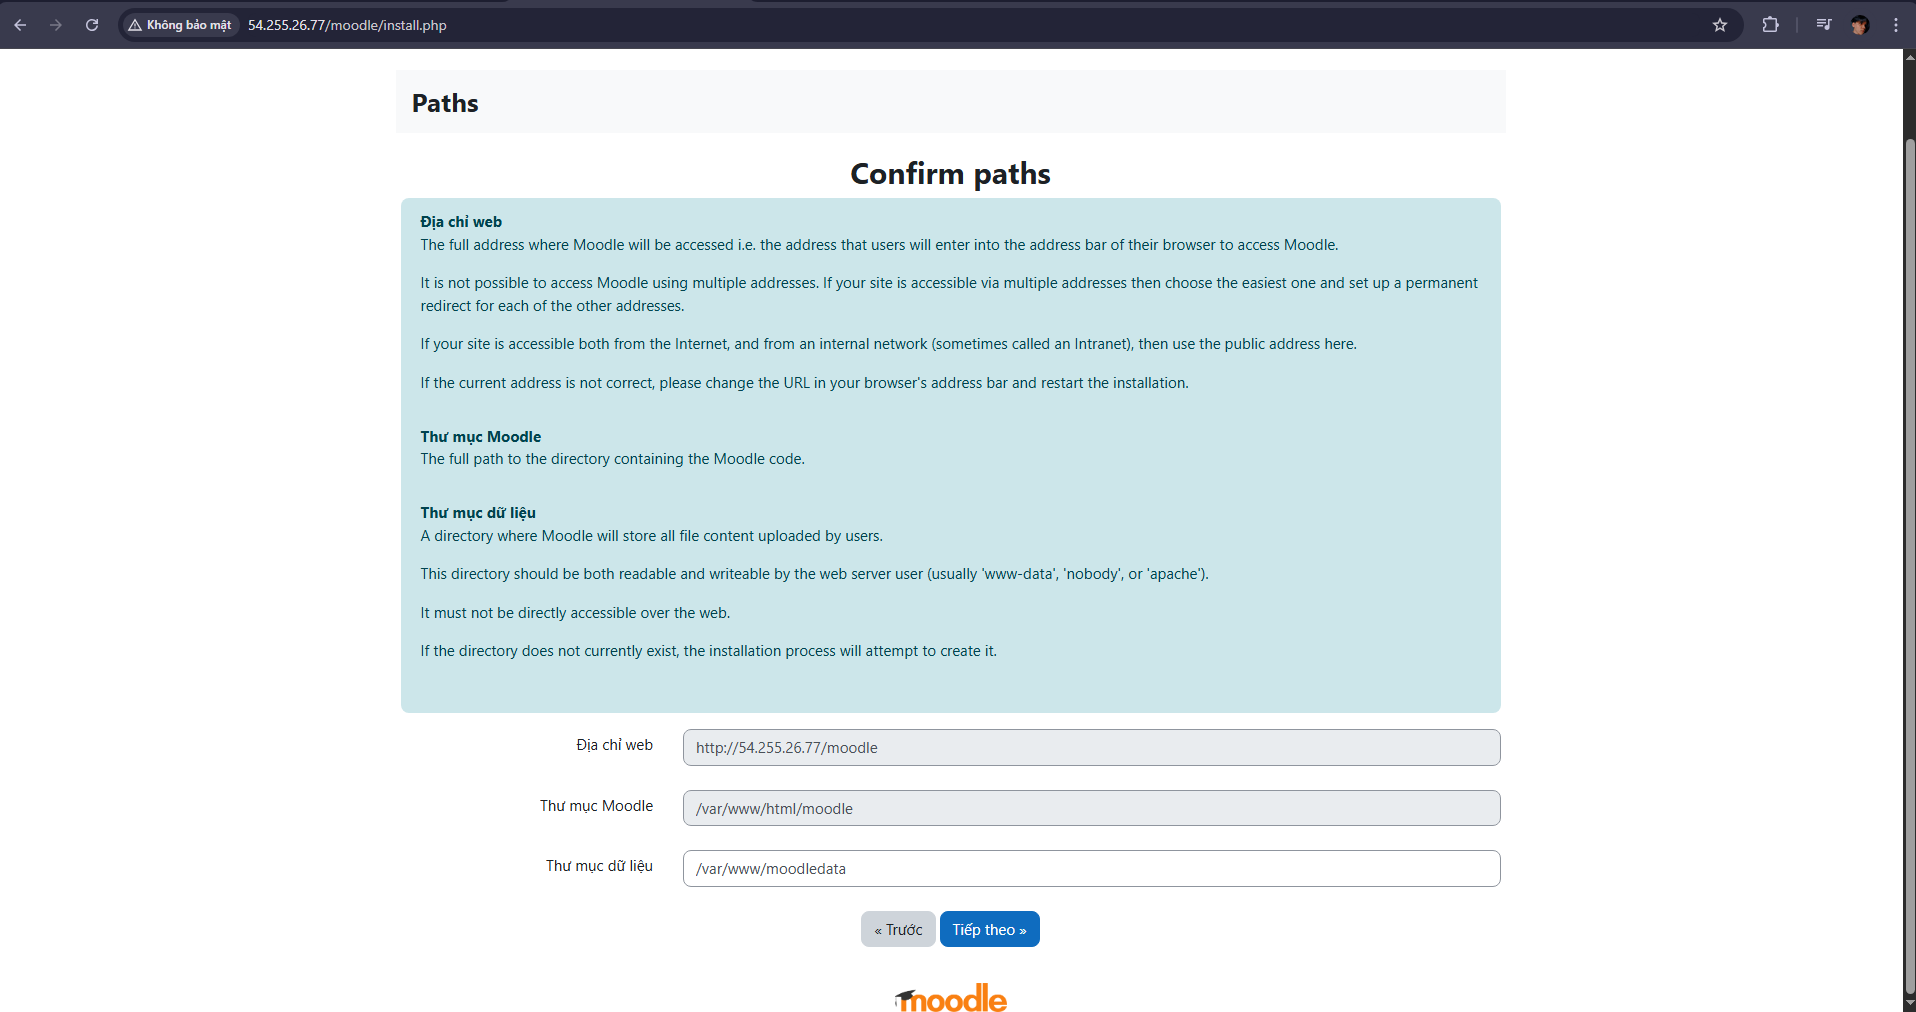
- By default, the /var/www directory does not allow the web server (user www-data) to create subdirectories → so Moodle cannot create /var/www/moodledata.
- You need to create the /var/www/moodledata directory in the terminal and assign appropriate permissions.
- Run the command:


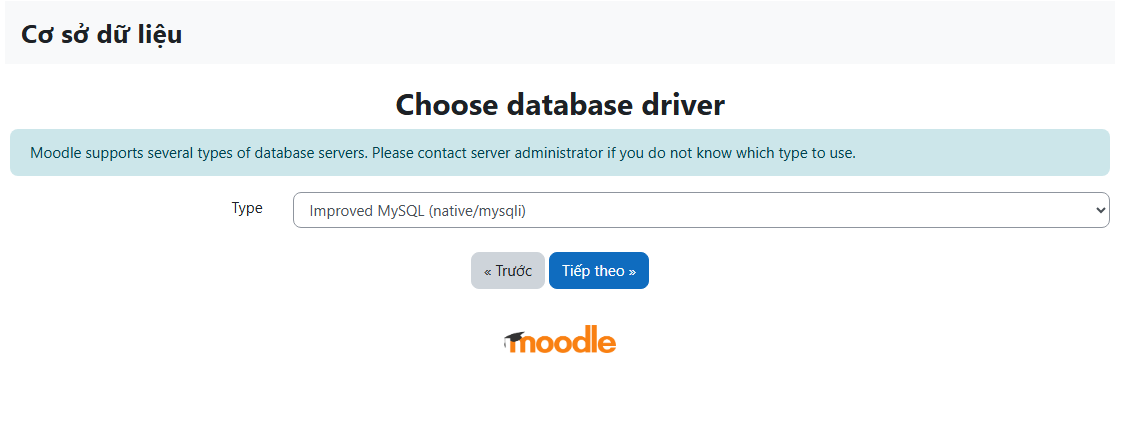
- Click continue to install
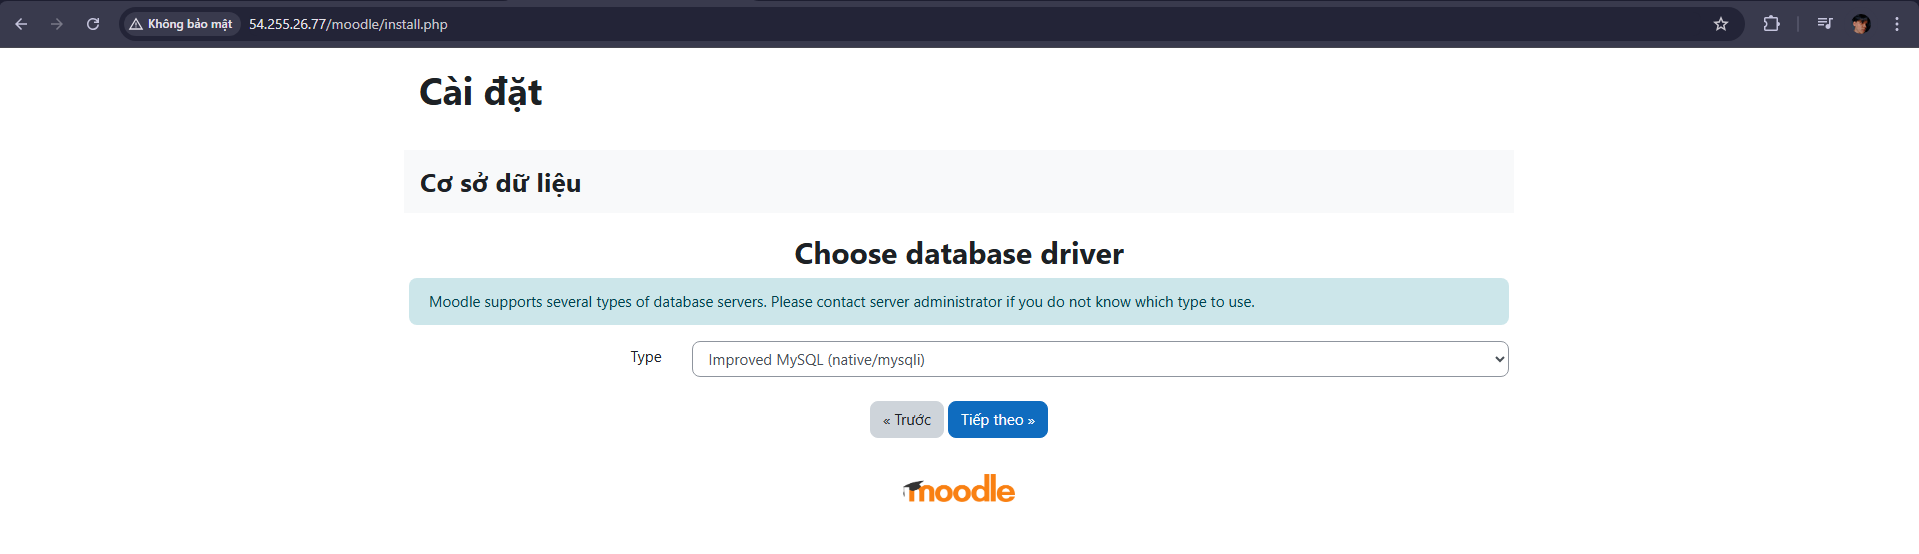
At the type section, select Improved MySQL (native/mysqli)
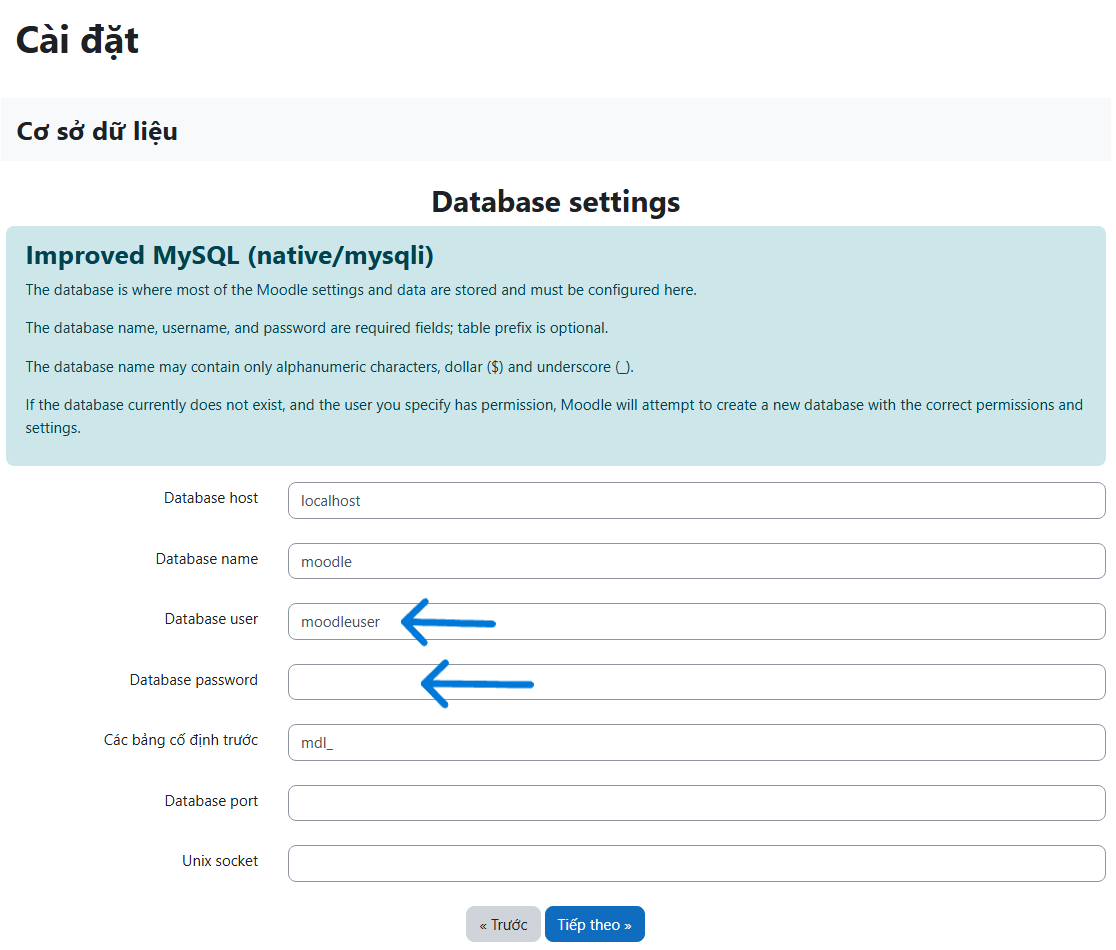
- Fill in the required information except for the last 2 lines, then click next
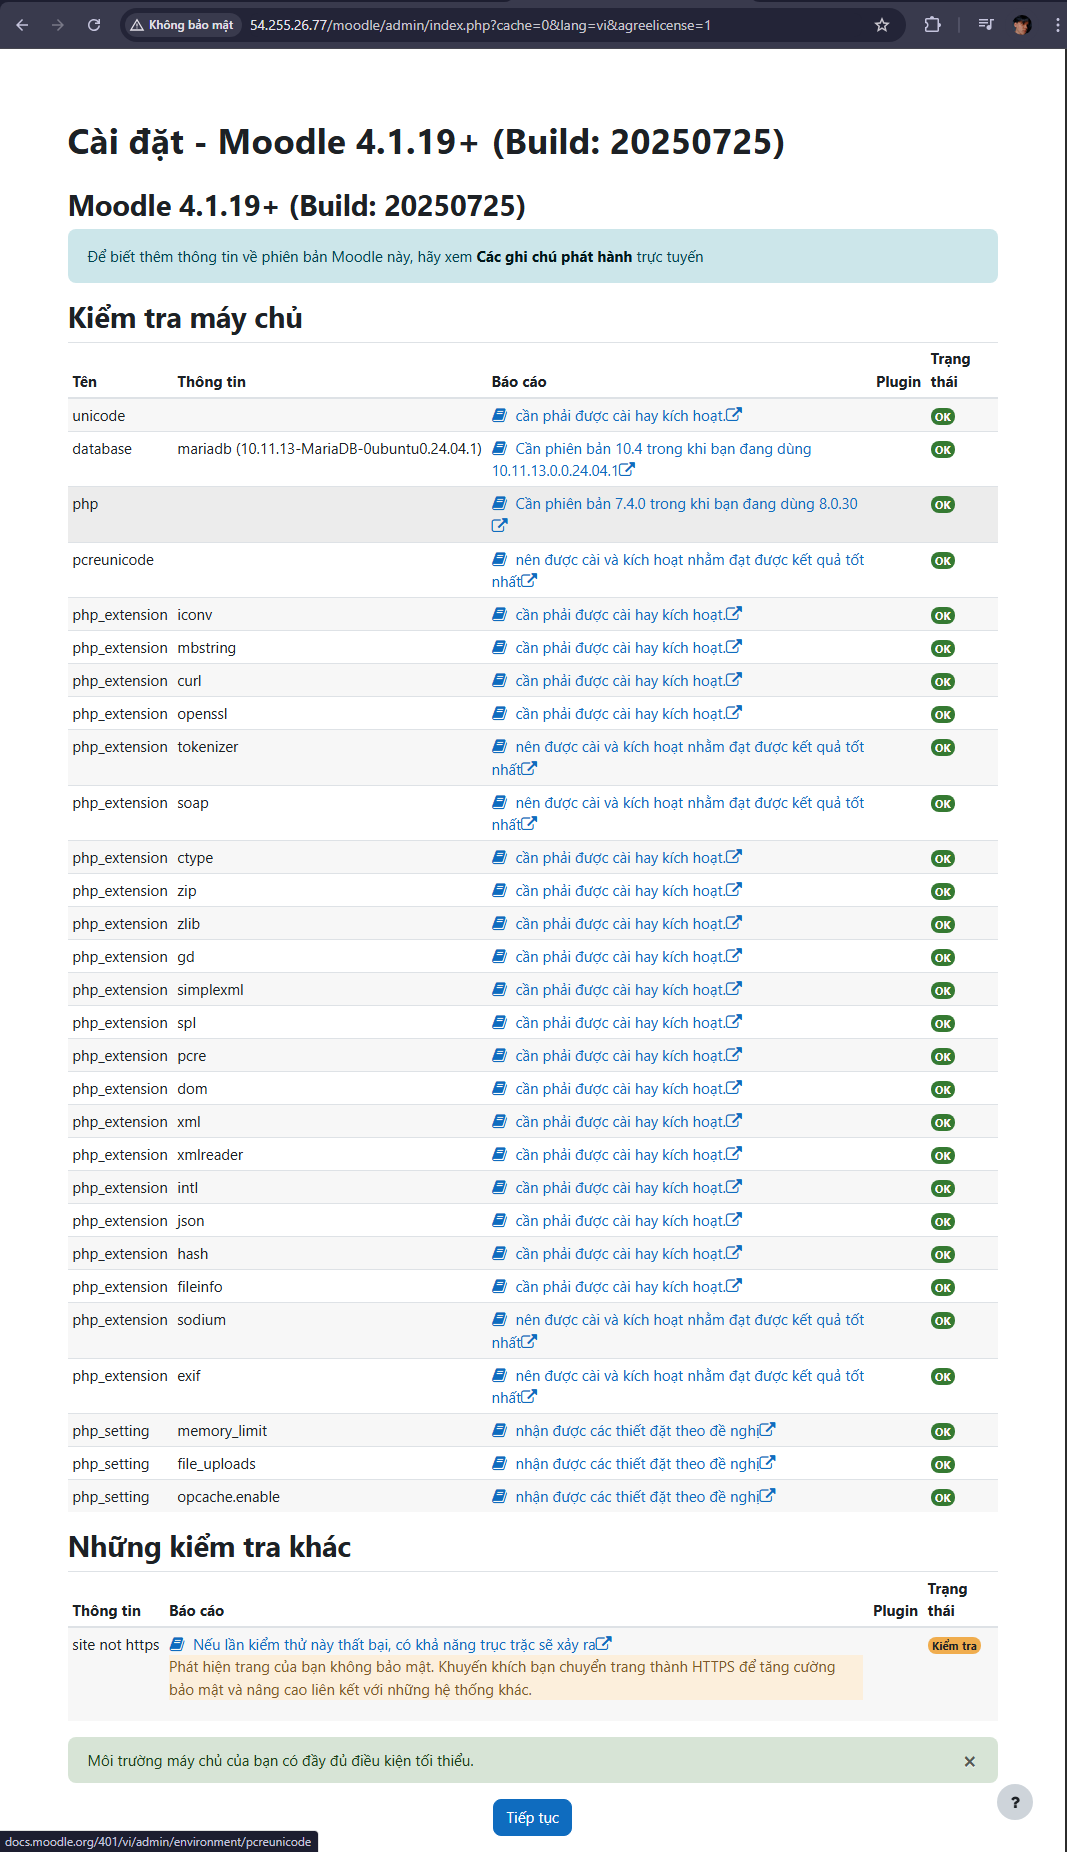
 Check the requirements for installing Moodle then continue
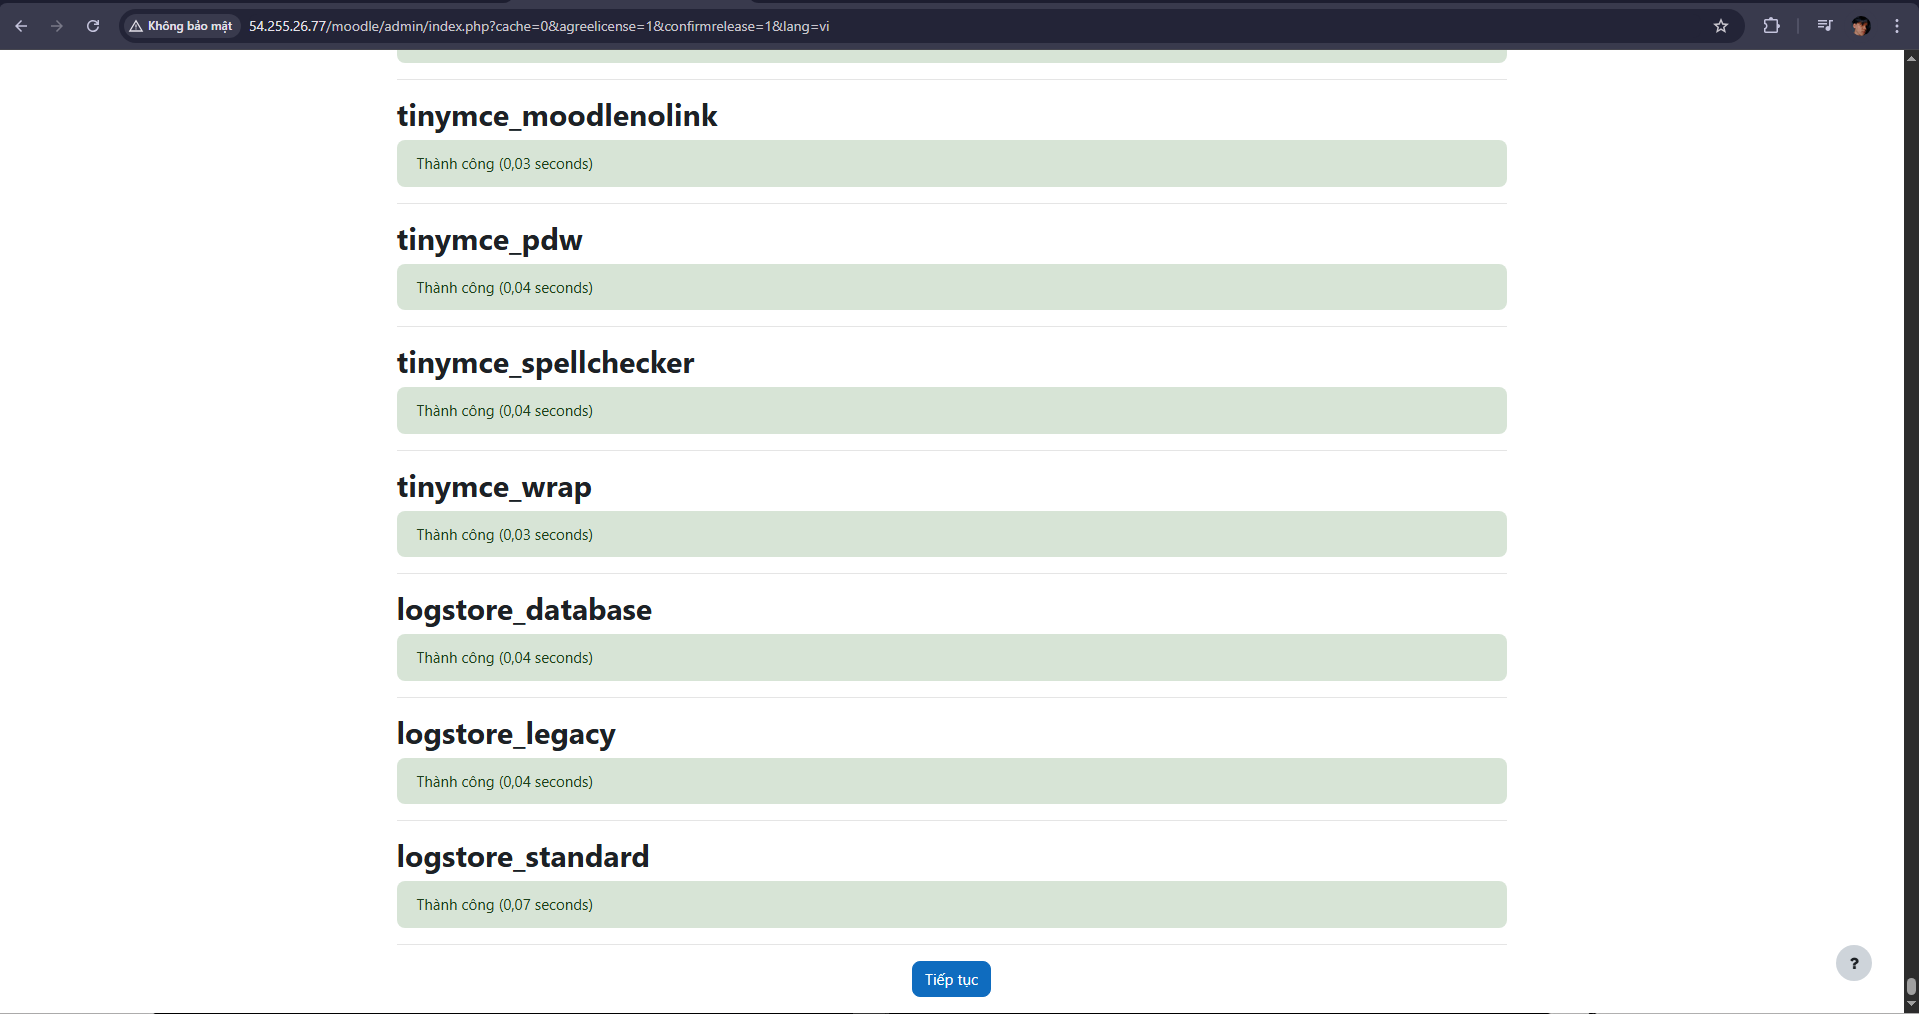
- Successful installation will look like the image below
- Continue to the admin page
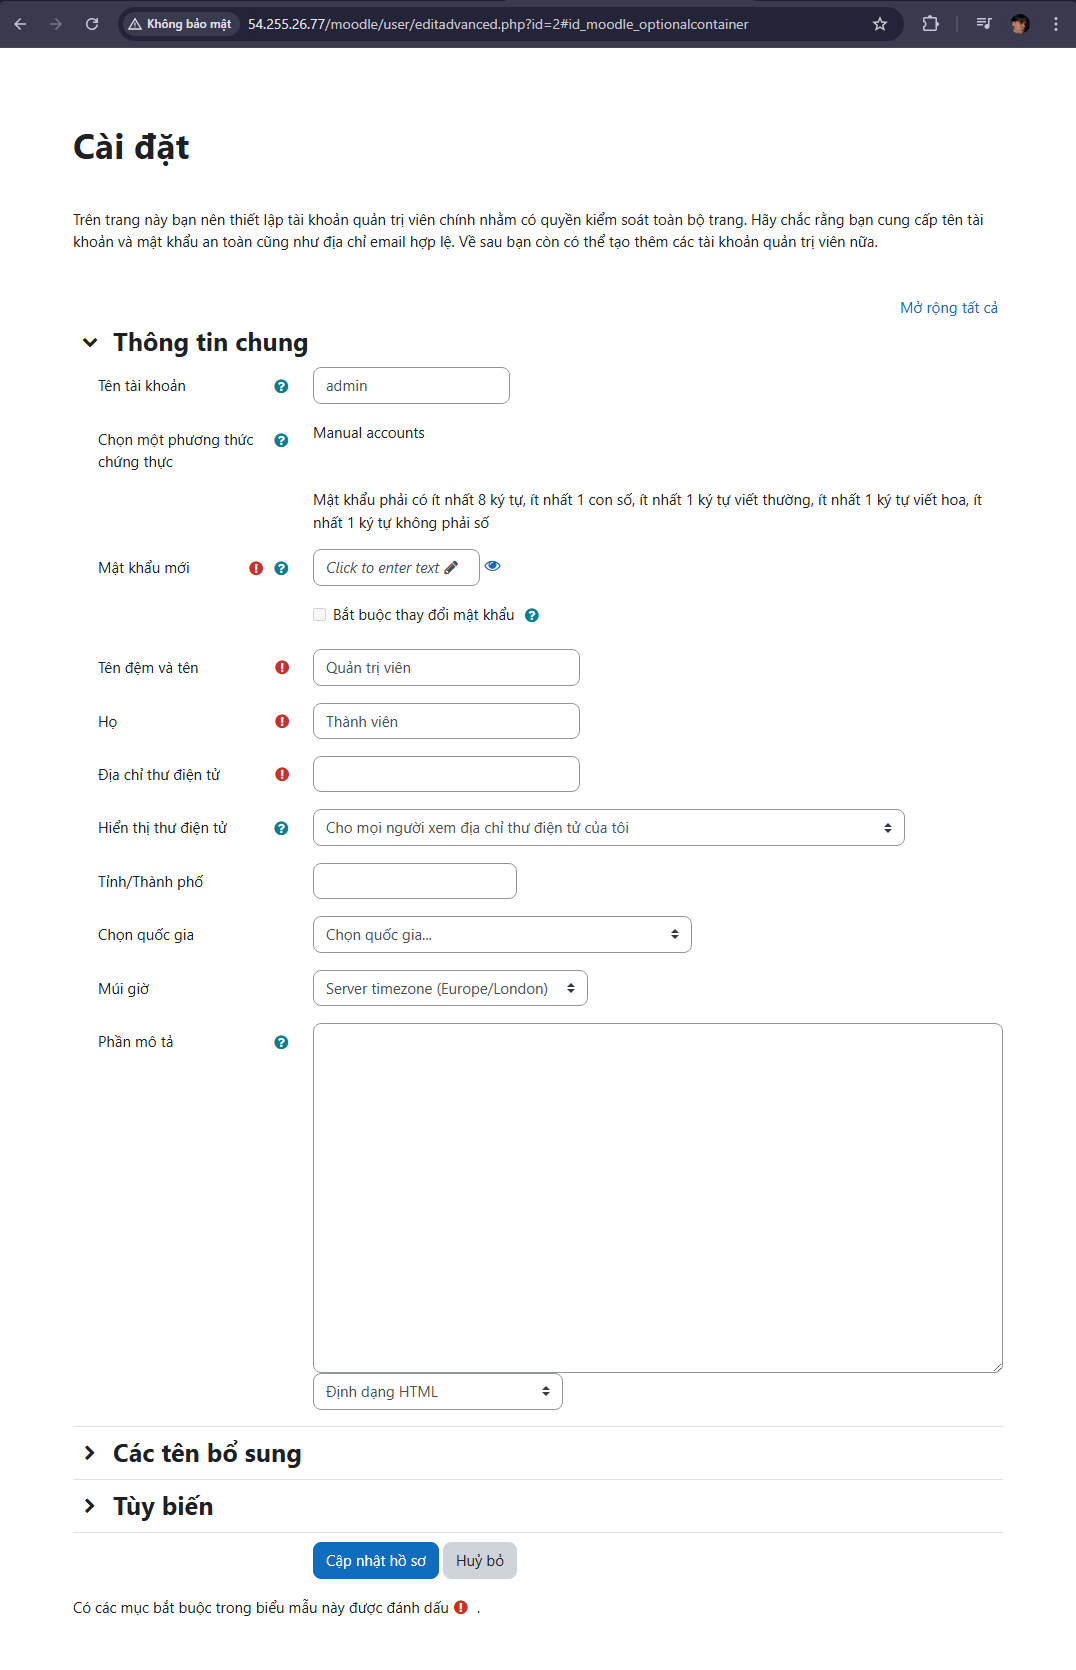
- After updating your profile with basic information, you will be redirected to the homepage
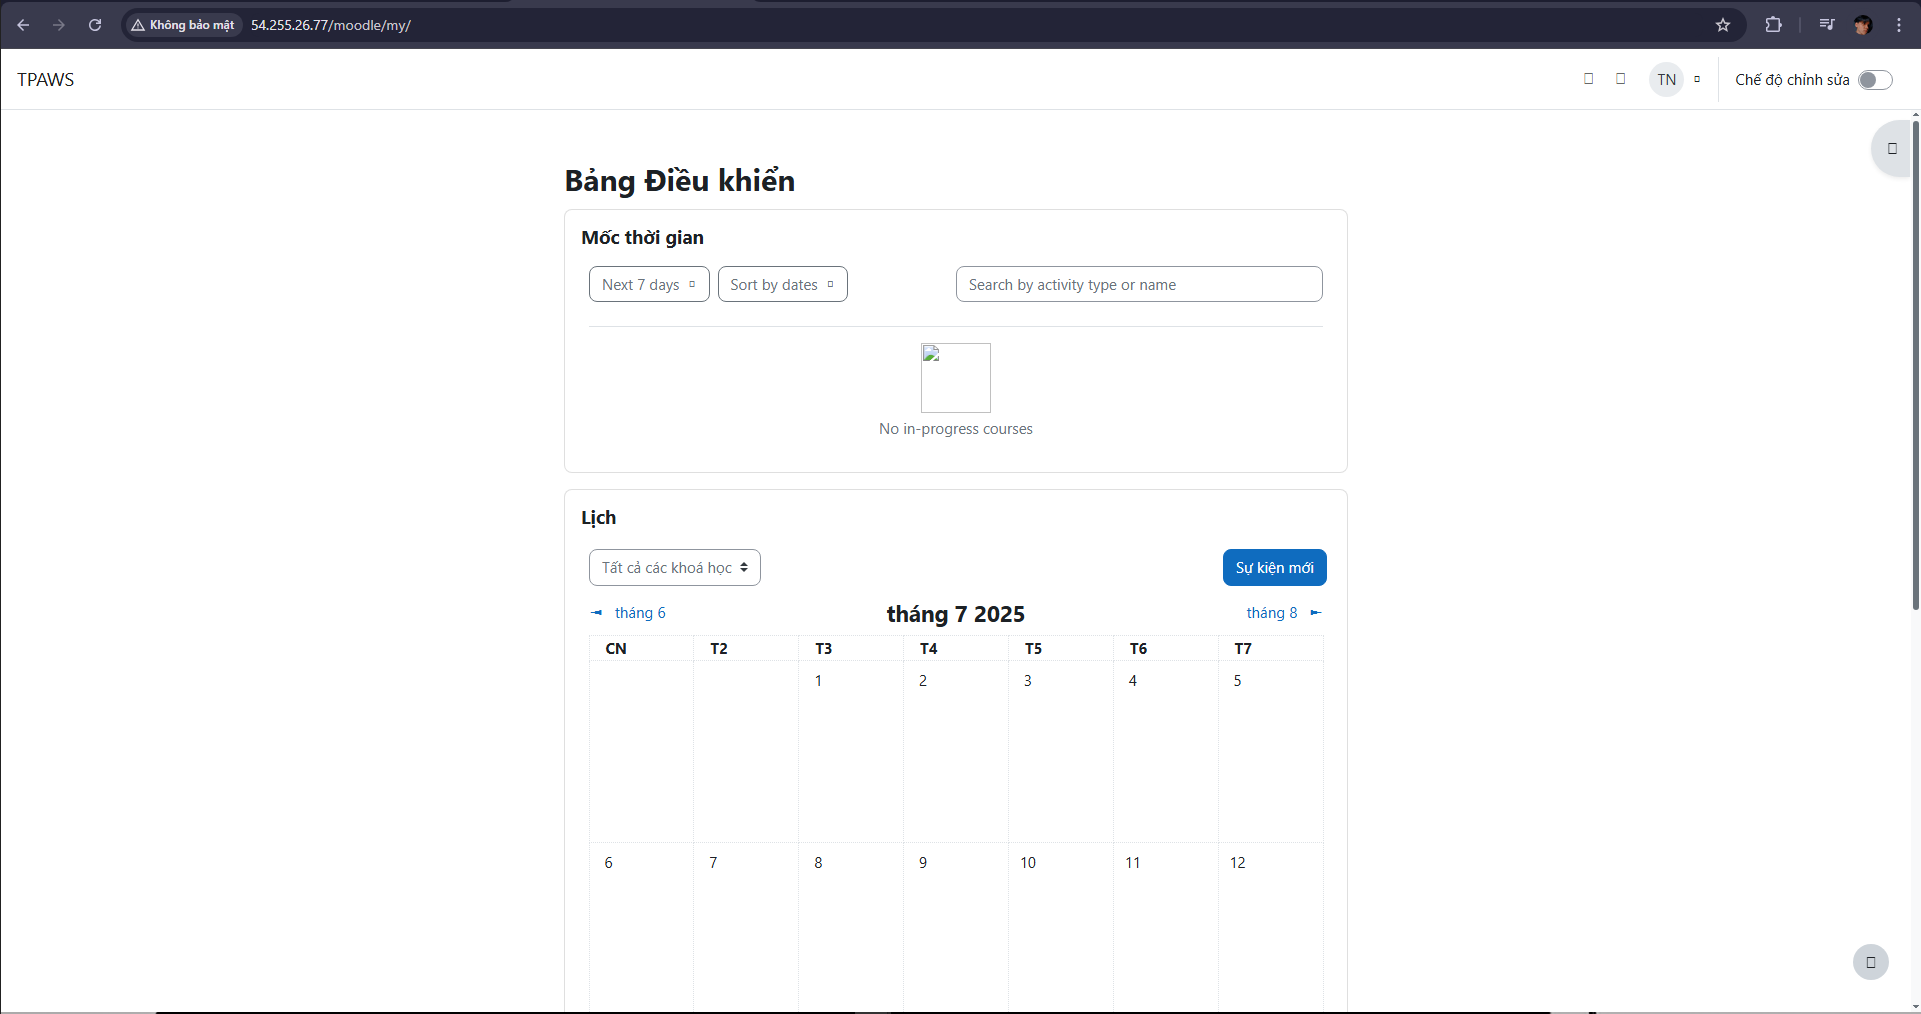
You have now completed setting up Moodle for the system on an EC2 Instance of AWS