Install Web Server
- Update the system and install Apache Web Server.
- Go back to the PowerShell window and run sudo apt update && sudo apt upgrade -y.
- After the update, run sudo apt install apache2 -y to install Apache Web Server.
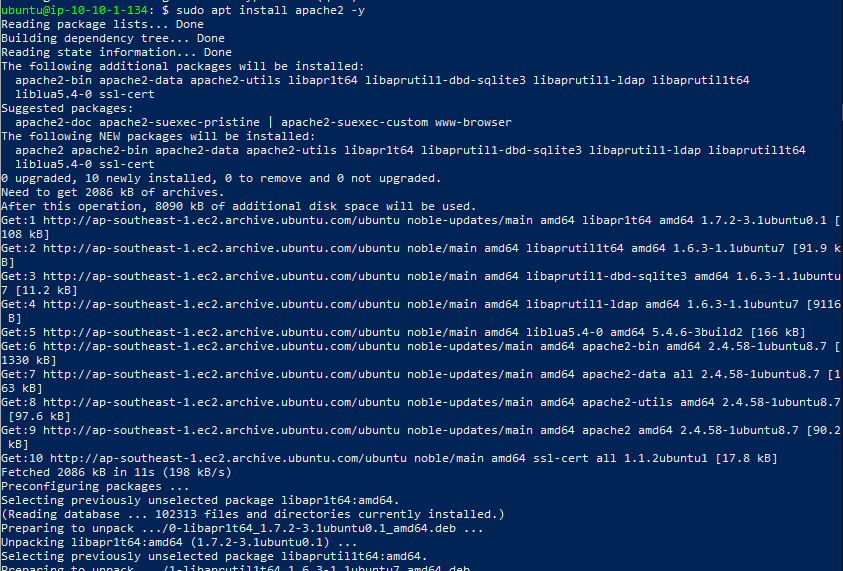
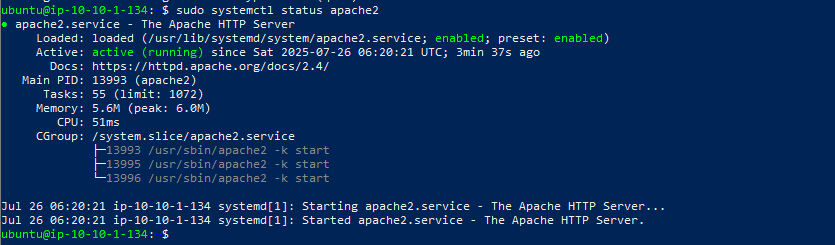
- Run sudo systemctl status apache2 to check the status. If it shows active (running), the installation is successful.
- Install PHP and the required Moodle extensions.
-
Run sudo apt install php
php-mysql php-xml php-curl php-zip php-gd
php-intl php-mbstring php-soap php-xmlrpc
libapache2-mod-php -y.
-
Run sudo apt install mariadb-server mariadb-client -y to install MariaDB.
-
To enable the service, run sudo systemctl enable mariadb.
-
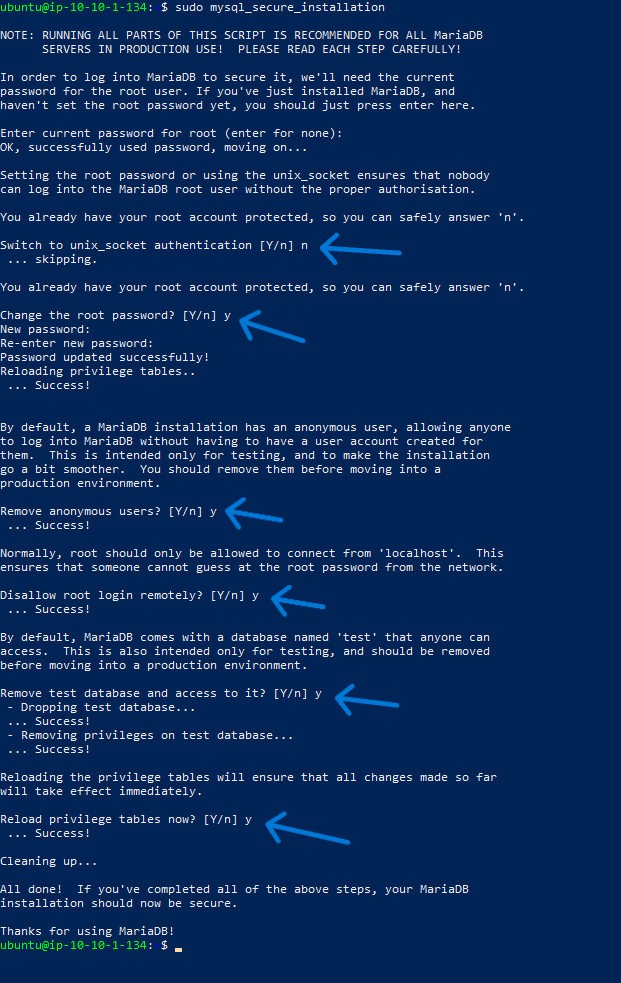
Finally, for basic security configuration, run sudo mysql_secure_installation and follow the instructions in the image below.
- Check Apache display.
- Get the public EC2 IP (Elastic IP you noted earlier).
- Open your browser and enter your Elastic IP in the search bar, e.g., 54.255.26.77.
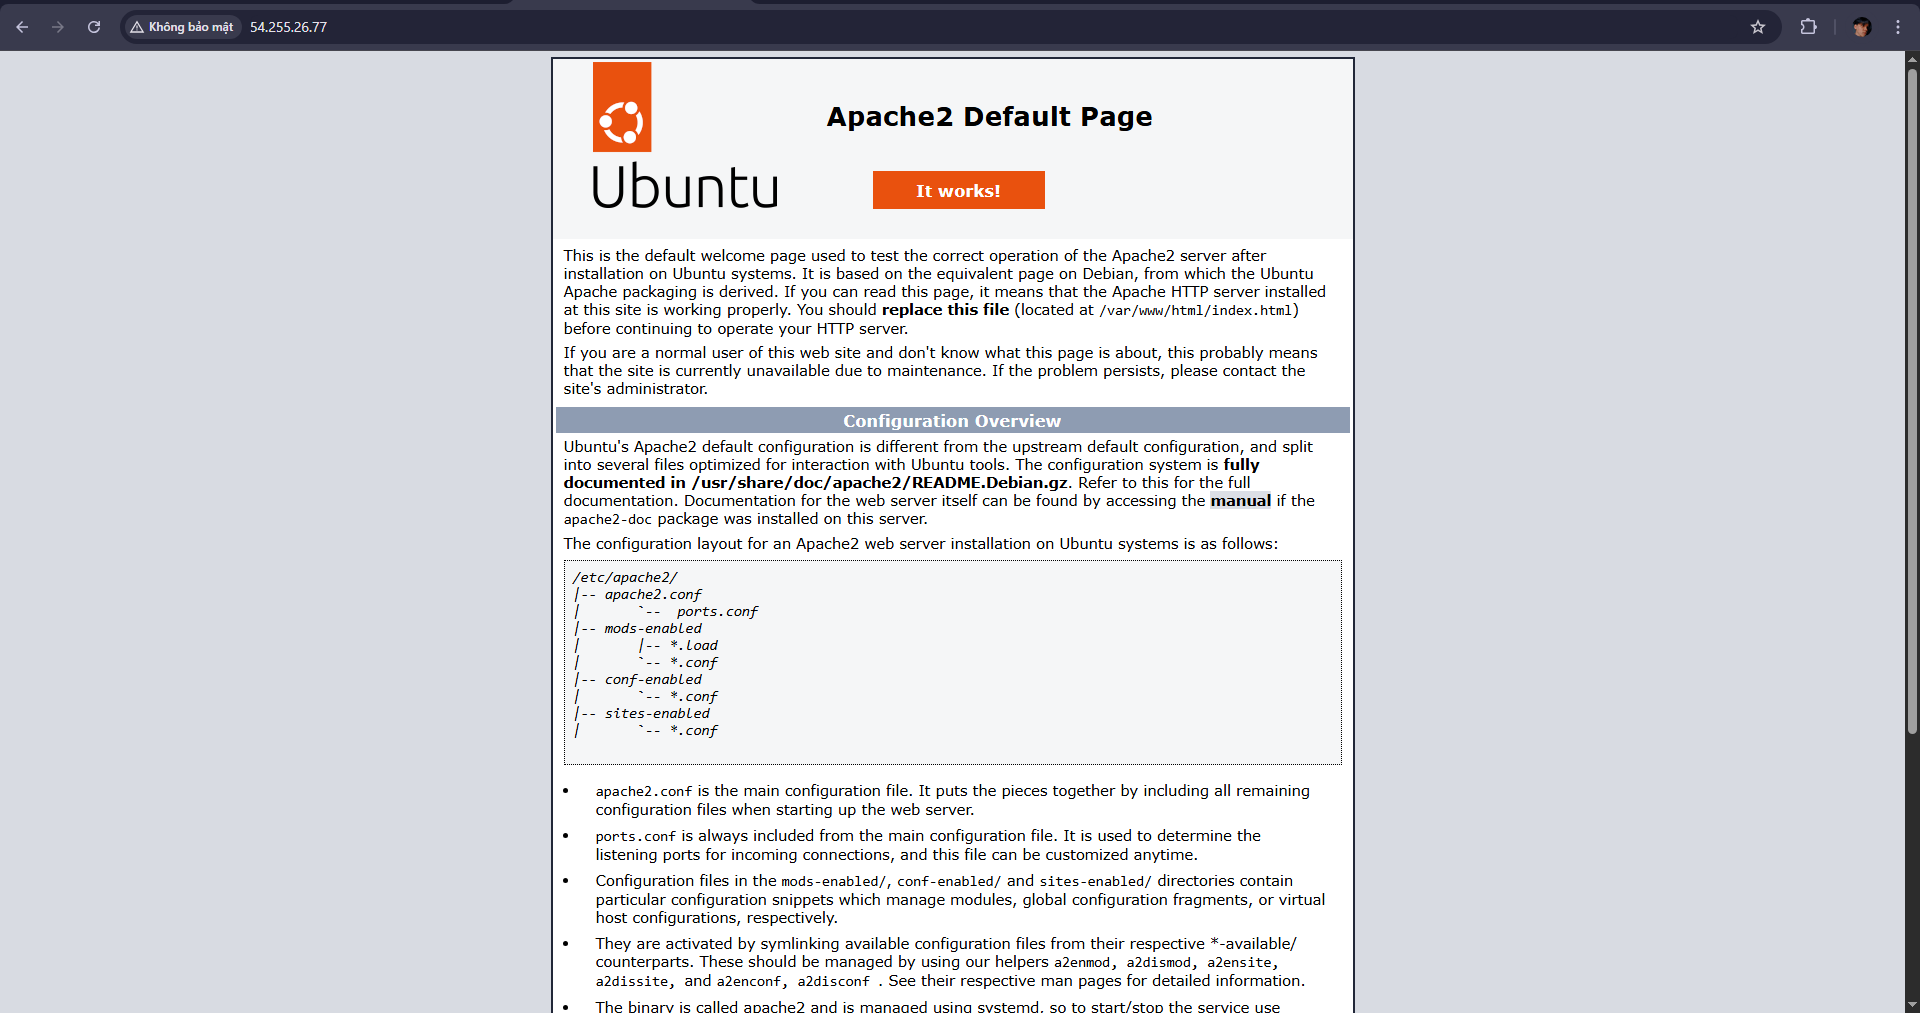
- If you see: Apache2 Ubuntu Default Page → Success
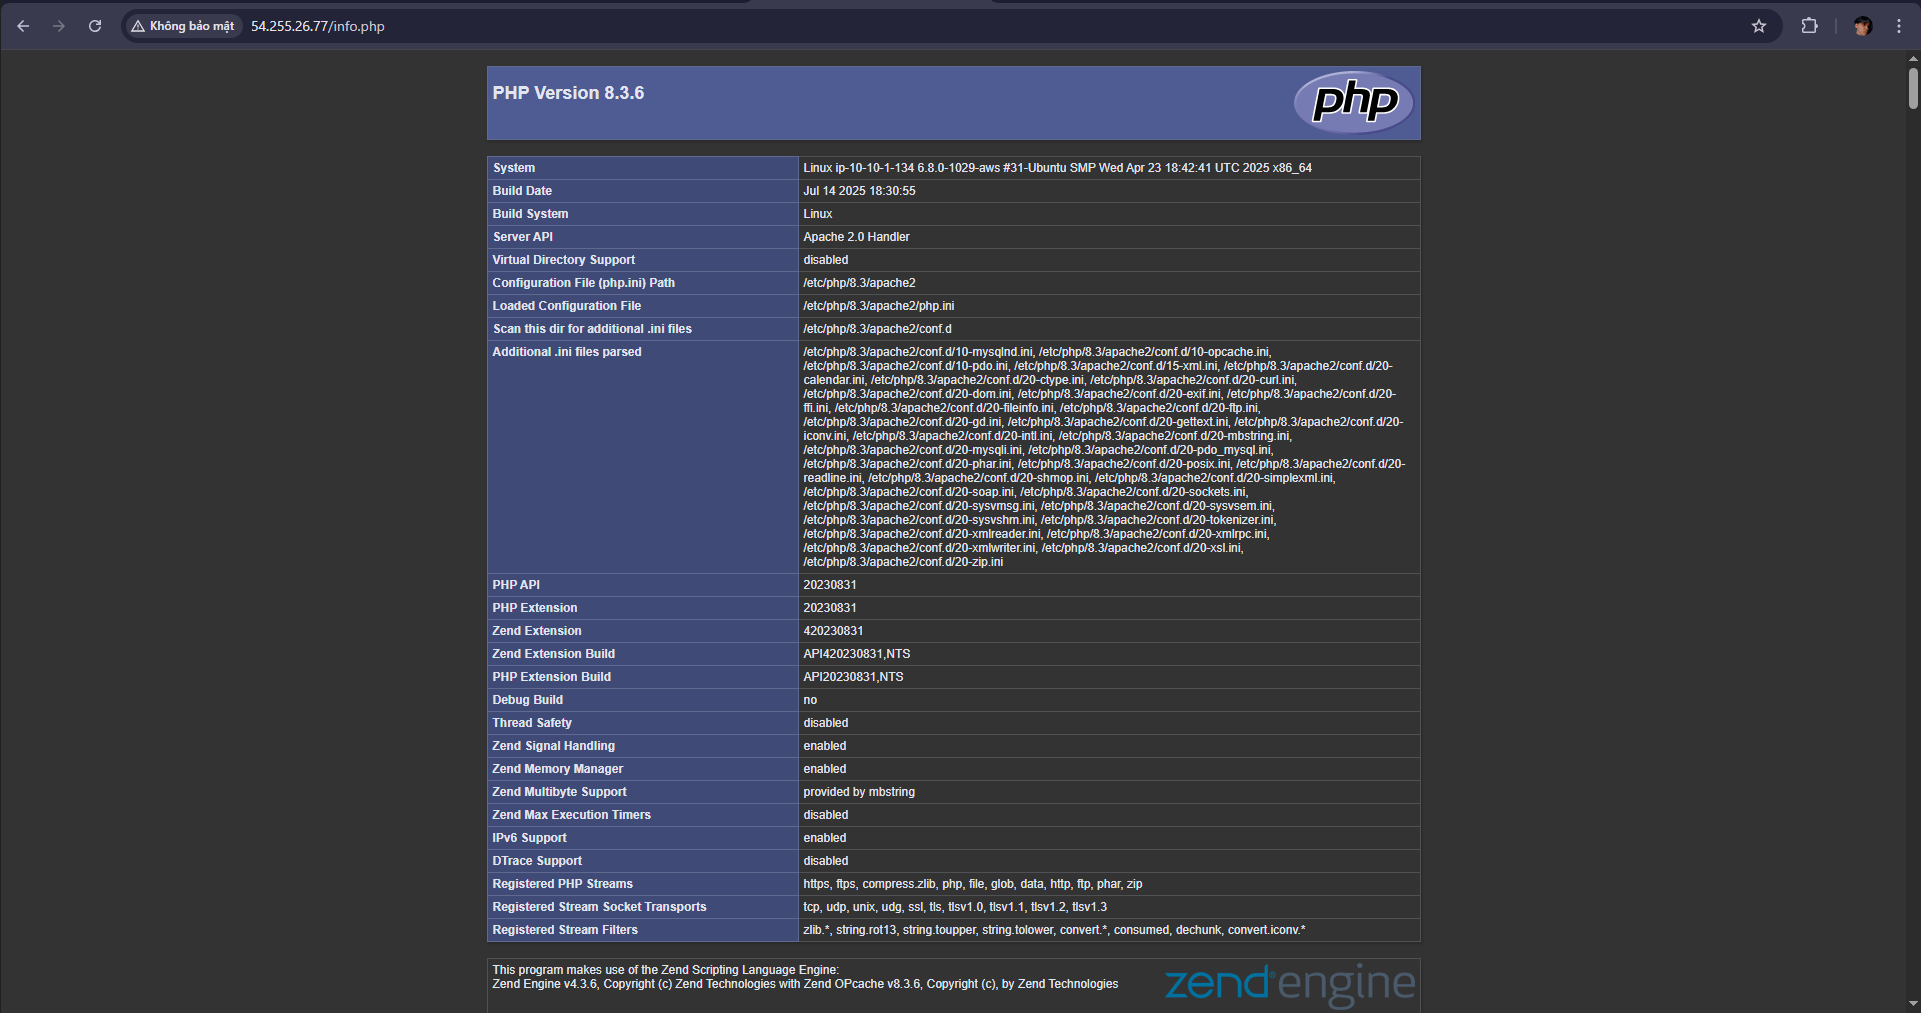
- Run the command below to create the info.php file in the Apache web directory.

- Check by opening your browser and entering http:///info.php (e.g., http://54.255.26.77/info.php)
Next, we will proceed to install Moodle and